Key takeaways
- Start documenting as soon as it is safe: date, time, hail size, and ground-level photos the day of the storm.
- Photograph in layers (wide, medium, close-up) on every slope and elevation, with a ruler or coin for scale.
- Soft metals like gutters, vents, and AC fins are some of the best evidence of hail size and direction.
- Pair your photos with NOAA storm records for your date of loss, such as the April 21, 2023 and May 8, 2025 McAllen-area hail events.
- Organize everything in labeled folders and keep a written log of every contact with your insurer.
Your insurer pays for damage it can see and verify. That makes knowing how to document hail damage for an insurance claim one of the most useful things a property owner can do after a storm. Clear, organized evidence helps the adjuster understand what happened, when it happened, and what it will take to repair. Thin or disorganized evidence leaves gaps that often turn into delays, low estimates, or disputes.
This guide walks McAllen, Hidalgo County, and Rio Grande Valley (RGV) homeowners and business owners through a practical documentation process, from the first hour after the storm to a finished claim file.
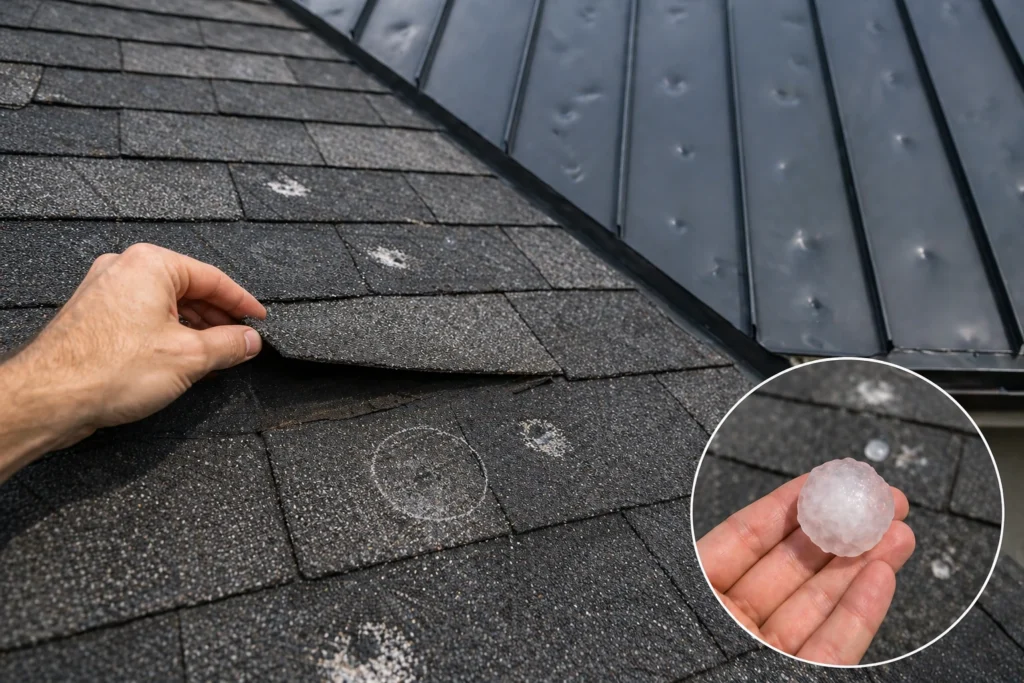
Why documentation matters
Documentation does four jobs on a hail claim:
- Cause: it connects the damage to a specific storm instead of age, wear, or a prior event.
- Scope: it shows every slope, component, and room affected, so nothing is left out of the estimate.
- Cost: it supports measurements and line items in the repair estimate.
- Record: it creates a timeline if questions come up later about notice, inspections, or deadlines.
When to start
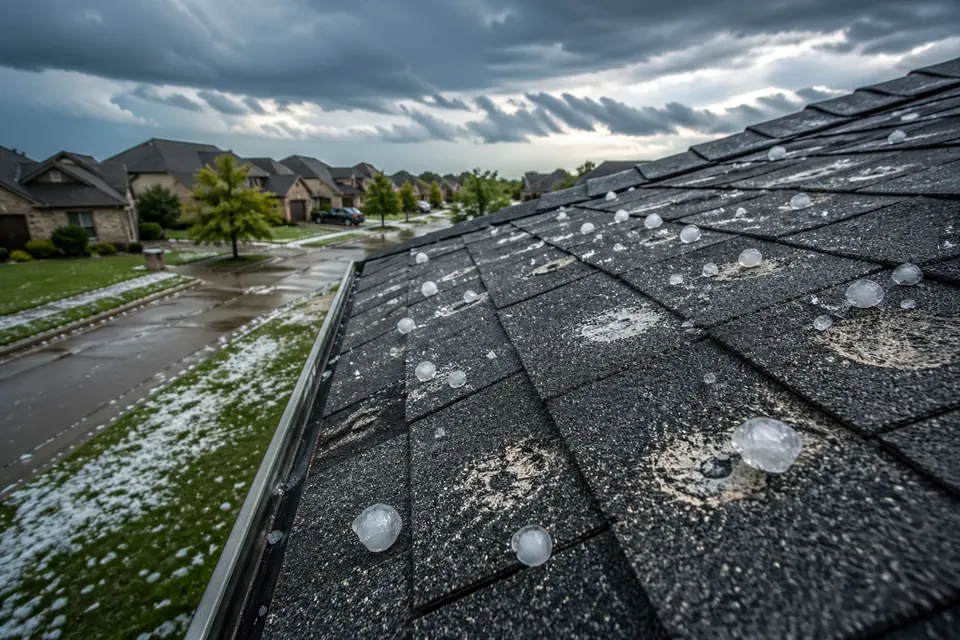
As soon as it is safe. Hail evidence fades. Hailstones melt within minutes, rain washes away granules, debris gets cleaned up, and in a busy spring a second storm can blur which event caused what.
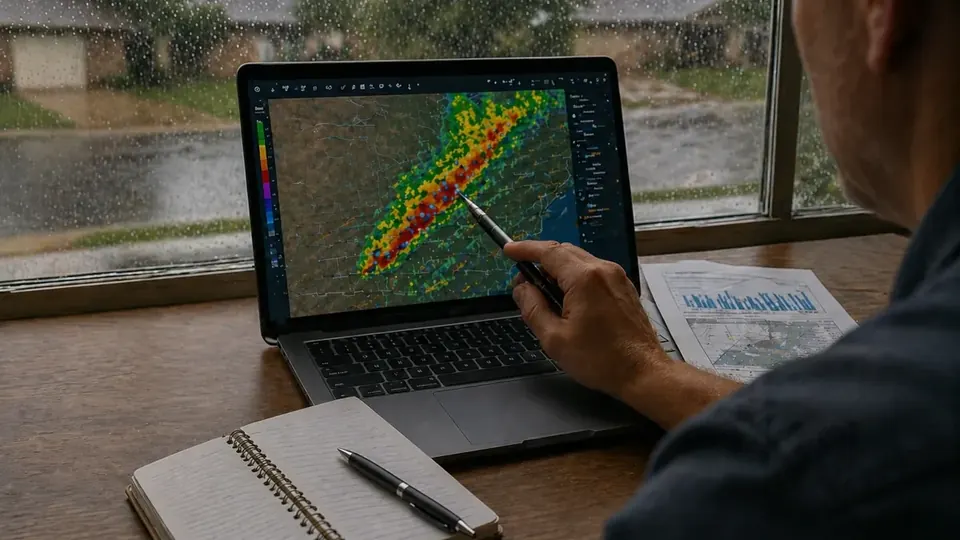
That last point is real in the RGV. According to NOAA’s Storm Events Database, most of Hidalgo County’s recorded hail falls in April and May, and some springs bring more than one damaging storm. In 2023, for example, the April 21 hailstorm brought up to an hour of continuous hail to southern Hidalgo County, and a severe wind event on April 28 followed a week later. Separating evidence by date is much easier when you document right away.
Same-day checklist:
- Write down the date, start and end time, and estimated hail size (compare to a coin or ball).
- Photograph hailstones next to a ruler if you can do so safely.
- Walk the property and take ground-level photos of all four sides.
- Note wind direction if you saw it; damage is often heaviest on the side facing the storm.
- Check ceilings and the attic for new leaks.
Step 1: Photograph the roof (safely)
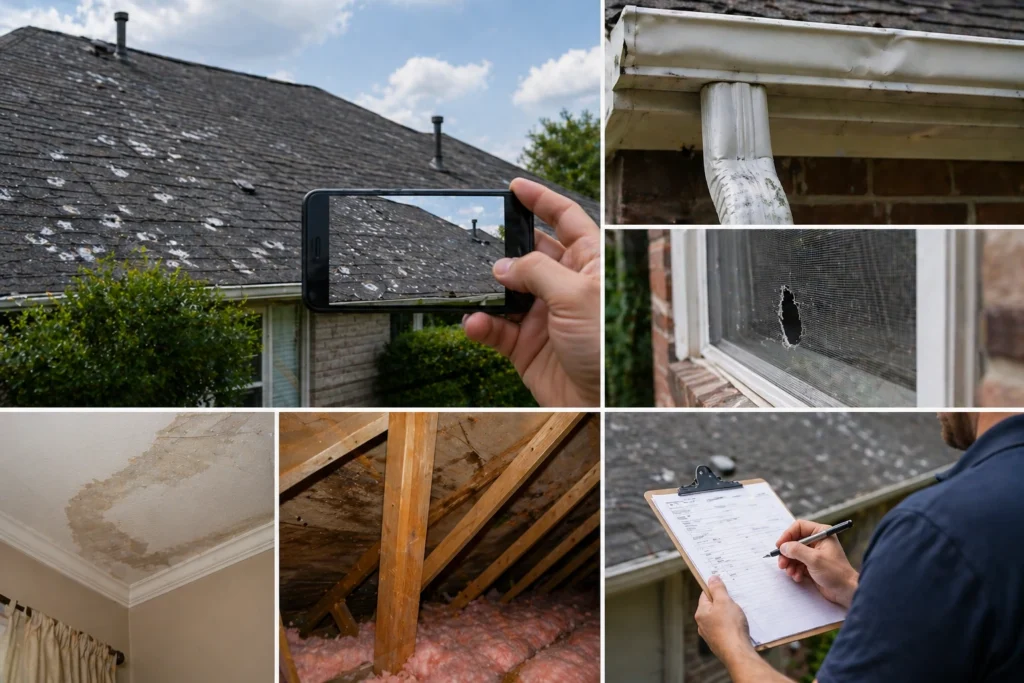
Do not climb on a steep, wet, or two-story roof. Photograph what you can from the ground and from windows, then let a roofer, inspector, or adjuster with proper safety gear document the roof itself. Roof photos are most useful when they are taken in layers:
- Wide shot of the whole slope, so the reviewer knows where they are.
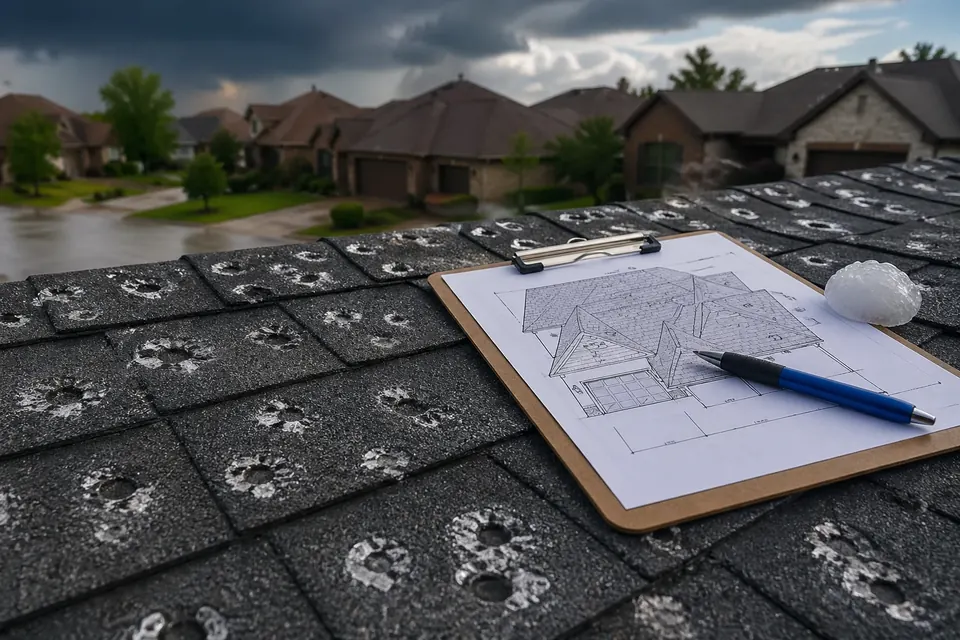
- Medium shot of a cluster of impacts (inspectors often mark a 10-foot by 10-foot test square).
- Close-up of individual impacts with a tape measure or coin for scale.
Different roofing materials show hail differently:
| Roof type | What hail damage looks like | What to photograph |
|---|---|---|
| Composition shingles (most McAllen homes) | Dark spots where granules are knocked loose; soft or fractured mat beneath; cracked tabs | Impacts on every slope, ridge cap, and around vents |
| Metal (outbuildings, carports, commercial) | Dents, coating cracks, seam or fastener damage | Dents with angled light; any punctures or seam distortion |
| Tile | Cracks, chips, broken corners | Broken pieces, cracked tiles at close range |
| Flat / low-slope | Membrane bruising or punctures; damage to curbs, flashing, rooftop units | Impacts on membrane, HVAC units, drains, edge metal |
Step 2: Document soft metals and collateral damage
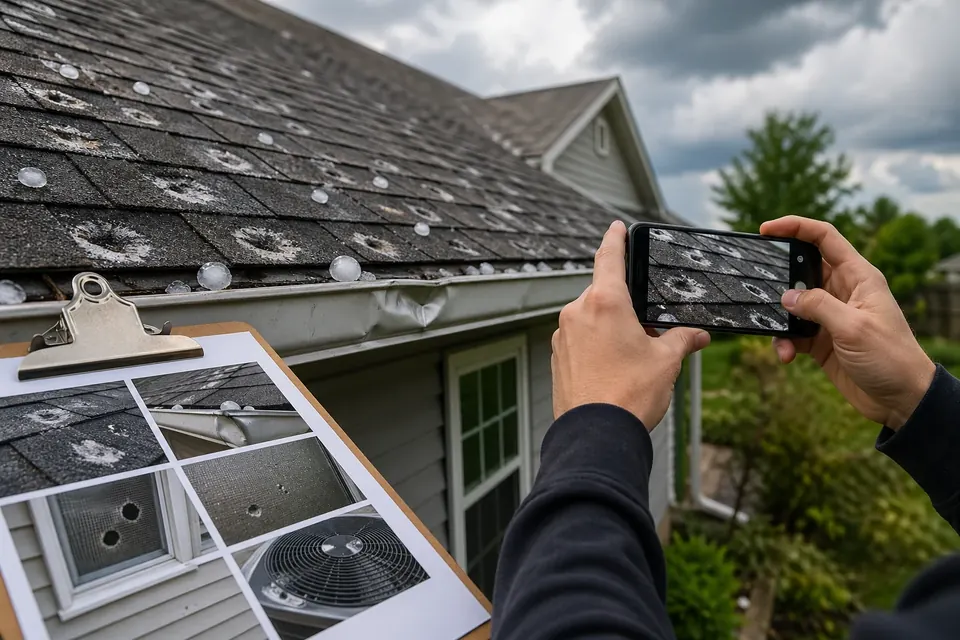
Soft metals are some of the most persuasive hail evidence because they dent consistently and help show hail size and direction. Photograph:
- Gutters, downspouts, and gutter guards.
- Roof vents, turbines, and flashing (often visible from the ground with zoom).
- AC condenser fins and electrical boxes.
- Window screens, frames, and glass.
- Stucco, painted trim, fences, mailboxes, and patio covers.
- Vehicles parked outside during the storm (handled under auto coverage, but useful context).
Photo best practices
| Practice | Why it helps |
|---|---|
| Keep the phone’s date and location data on | Records when and where each photo was taken |
| Use a scale reference | Shows impact size |
| Shoot each area wide, medium, and close | Lets the reviewer locate each detail |
| Use angled light for dents | Makes shallow dents on metal visible |
| Take video walk-arounds | Shows the whole property in context |
Step 3: Record notes and a timeline
Photos show what. Notes explain when, where, and how. Keep a simple running log:
May 8 — storm about 7 p.m., hail up to golf ball size in backyard, wind from the northwest. Gutters dented on north side; screen torn in back bedroom; water stain appeared on hallway ceiling next morning.
Also log every contact with your insurer: date, name, what was said, and what was requested. That record helps if timelines become an issue. Under Texas Insurance Code Chapter 542, insurers generally must acknowledge a claim and request what they need within 15 days of notice, and accept or reject within 15 business days of receiving the requested items, with some extensions allowed.
Step 4: Document interior damage

Interior damage shows the roof is no longer keeping water out. Look for and photograph:
- Ceiling stains, sagging drywall, or bubbling paint.
- Wet insulation, decking stains, or daylight in the attic.
- Damage to flooring, cabinets, or contents below a leak.
- Musty odors or visible growth in the days after a leak.
Measure stains and take photos over several days if they grow. Mitigate promptly: move contents, catch water, and tarp the roof if needed. Keep receipts. See our water damage claims page if a leak has caused significant interior damage.
Step 5: Gather supporting documents
| Document | Why it matters |
|---|---|
| Full insurance policy and declarations page | Shows wind/hail deductible, roof settlement terms, exclusions |
| NOAA storm reports for your date of loss | Supports the timeline and reported hail size nearby |
| Roof age, installation records, prior inspections | Counters “wear and tear” or “pre-existing” arguments |
| Prior repair invoices | Shows condition before the storm |
| Contractor inspection report and estimate | Supports scope and pricing |
| Receipts for temporary repairs | Mitigation costs may be reimbursable under your policy |
For storm verification, the NOAA NCEI Storm Events Database lists hail reports by date and location. For example, it records hail up to 3 inches in north McAllen on May 8, 2025. Our storm lookup tool and storm history page make these records easier to find, and our guide to using NOAA weather records explains how to cite them.
Step 6: Get a professional inspection
A roofer or adjuster can safely inspect each slope, test-square impacts, measure the roof, and identify components that must be replaced with the roof covering. Ask for the inspection report and photos in writing. Under the City of McAllen’s 2024 ICC codes (effective January 1, 2026), code requirements may also affect what a compliant repair includes; see local building codes. For roof-specific guidance, read our McAllen roof hail damage claim guide.
Step 7: Organize your claim file
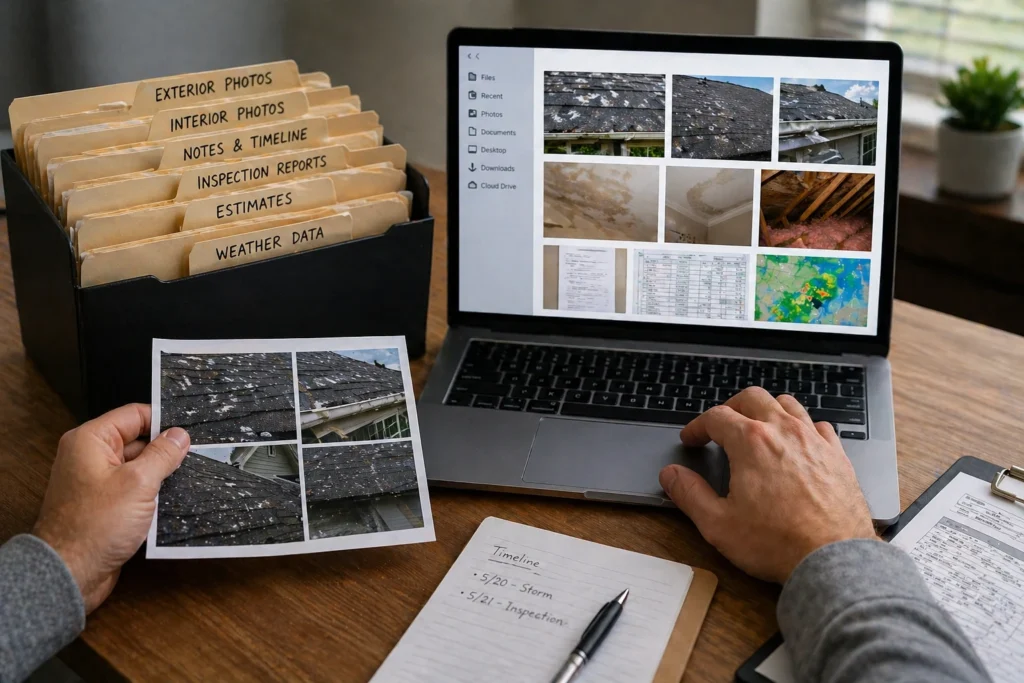
Keep one digital folder for the claim with subfolders such as:
- 01 Storm data and timeline
- 02 Roof photos (by slope)
- 03 Exterior and soft metals
- 04 Interior
- 05 Policy and correspondence
- 06 Inspections and estimates
- 07 Receipts
Name files descriptively, such as “North-slope_closeup_03.jpg” or “Hall-ceiling_stain_May9.jpg.” Back everything up to cloud storage and send the carrier copies, not your only originals. Our printable claim documentation checklist follows this structure.
Documenting a business or rental property
Commercial and rental properties need the same evidence plus a few extras. Photograph each building and roof section separately and label it with the building name or unit number. Record rooftop equipment such as HVAC units, skylights, and exhaust fans, which are common hail casualties on flat roofs. Note any interruption to operations or tenant occupancy and keep records of lost rents or extra expenses if your policy includes business income or loss-of-rents coverage. Keep tenant reports of leaks with dates. If several buildings are involved, a simple site map showing which photos belong to which roof makes the file far easier to review.
What adjusters look for
- Does the damage pattern match the reported storm date, size, and direction?
- Is damage present on soft metals as well as the roof?
- Are all slopes and elevations documented?
- Is the damage functional (affecting water-shedding or service life) or limited to appearance?
- Is there a clear pre-storm condition record?
A good file answers these questions up front.
Common documentation mistakes
- Taking only a few distant photos.
- Ignoring gutters, vents, screens, and AC units.
- Waiting weeks to look in the attic.
- Deleting “bad” photos. Keep everything; even blurry shots can confirm timing.
- Relying only on the insurance company’s photos and report.
- Making permanent repairs before the damage is documented.
- Mixing photos from different storms without dates.
Final checklist

- Record the storm date, time, and hail size.
- Photograph every slope, elevation, and soft metal in layers.
- Document interior and attic conditions.
- Pull NOAA storm reports for your date of loss.
- Gather your policy, roof records, and receipts.
- Get a professional inspection and report.
- Organize and back up the claim file.
If the estimate later comes back incomplete, documentation is what supports a hail claim supplement. If you want help preparing or reviewing your file, see our hail damage claim services.
Frequently Asked Questions
How soon should I document hail damage after a storm?
As soon as it is safe. Start with ground-level photos and notes the same day or the next, before rain, cleanup, or another storm changes the evidence. Then report the claim promptly; most policies require prompt notice.
Do I need to climb on my roof to document hail damage?
No. Roofs are dangerous, especially steep or two-story roofs and wet surfaces. Document what you can from the ground and from windows, then have a roofer, inspector, or adjuster with proper safety equipment photograph the roof.
How many photos should I take?
Enough to show every affected area from a wide, medium, and close-up view. For a typical home that can mean dozens or even hundreds of photos. Label them by slope or elevation so a reviewer can tell where each one was taken.
What if I did not document the damage right away?
You can still report the claim, but it may be harder to connect the damage to a specific storm. NOAA storm reports for your date of loss, soft-metal damage, and a careful inspection can help. Report as soon as you can and be accurate about when you discovered the damage.
Should I make repairs before the adjuster inspects?
Make temporary repairs needed to prevent further damage, such as tarping a leak, and keep photos and receipts. Hold off on permanent repairs until the damage is documented and the insurer has had a reasonable chance to inspect, unless safety requires otherwise.
Does better documentation guarantee a higher payout?
No. Payment depends on your policy and the facts. Good documentation helps make sure covered damage is seen and considered, which can reduce disputes and delays.
Sources and further reading
This article is general information about property insurance claims in Texas, not legal advice, and not a promise of any coverage or outcome. Your policy language and the facts of your loss control your claim.